The Day My Air Fryer Almost Went Back in the Box
I bought my air fryer mostly because of the ads promising crispy fried food without the guilt. My first attempt at chicken tenders was, honestly, a disaster. They came out pale, soggy in the middle, and the breading fell off in chunks the moment I picked one up. I remember standing in my kitchen thinking about returning the whole appliance because clearly it was a scam.
I didn’t return it. Instead, out of stubbornness more than confidence, I kept trying. Batch after batch, I started noticing patterns — what made the coating stick, what made it actually crisp up instead of just drying out, and why some of my tenders cooked unevenly while others turned out perfect. Now, a few dozen batches later, my family genuinely prefers these over the fast food versions we used to order, and my kids ask for “the crunchy chicken” by name.
If you’ve had a similar disappointing first attempt, I get it, and I promise the fix isn’t complicated once you know what’s actually going on inside that basket.
Why Air Fryer Tenders Turn Out Wrong for So Many People
Before getting into the method, I want to explain why this goes wrong so often, because understanding the “why” is what actually helped me fix it.
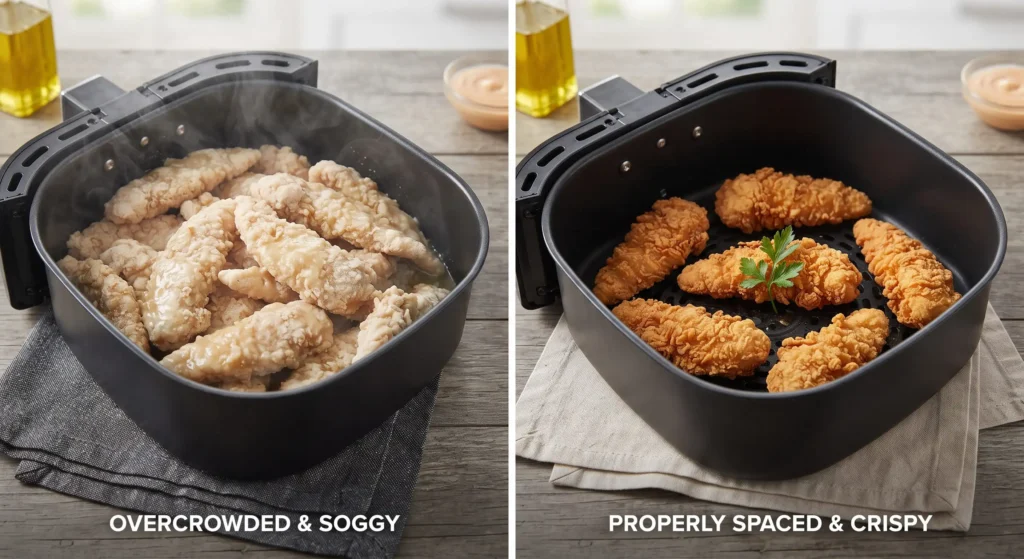
- Overcrowding the basket is the number one issue. Air fryers work by circulating hot air around the food, and if the tenders are touching or stacked, that air can’t do its job properly
- Skipping the oil spray makes people think air frying is oil-free, but a light spray is what actually helps the coating crisp up and turn golden
- Not patting the chicken dry first leaves excess moisture that steams the coating instead of crisping it
- Wrong breading technique — going straight from wet chicken to breadcrumbs without a proper flour and egg step in between means the coating just doesn’t stick
Once I addressed these four things specifically, my results changed dramatically.
Ingredients I Actually Use (After All My Trial and Error)
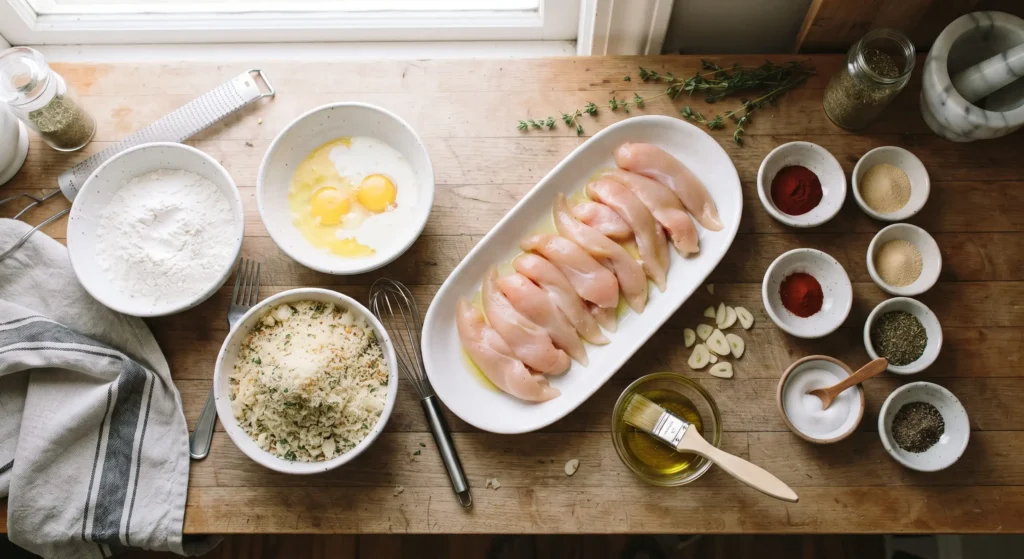
I went through plain breadcrumbs, panko, crushed crackers, and even cornflakes before landing on what consistently gives me that fast-food style crunch:
- 1.5 pounds chicken tenderloins (or chicken breast sliced into strips)
- 1 cup buttermilk
- 1 teaspoon hot sauce (optional, but it adds a nice subtle background flavor)
- 1 cup all-purpose flour
- 2 eggs
- 1.5 cups panko breadcrumbs
- 1 teaspoon paprika
- 1 teaspoon garlic powder
- 1/2 teaspoon onion powder
- Salt and black pepper to taste
- Cooking oil spray
Step-by-Step: How I Make Them Now (After Ruining So Many Batches)
Step 1: Marinate the Chicken First
Soak the chicken tenderloins in buttermilk (and hot sauce, if using) for at least 30 minutes, though I usually do this a few hours ahead or even overnight when I remember. This step tenderizes the meat and adds flavor deep into the chicken, not just on the surface.
Step 2: Pat the Chicken Dry Before Breading
This step surprised me the most when I learned it. After marinating, take the chicken out and pat it lightly with a paper towel before moving to the breading stations. Too much extra buttermilk clinging to the chicken makes the flour clump instead of coating evenly.
Step 3: Set Up Your Breading Station Properly
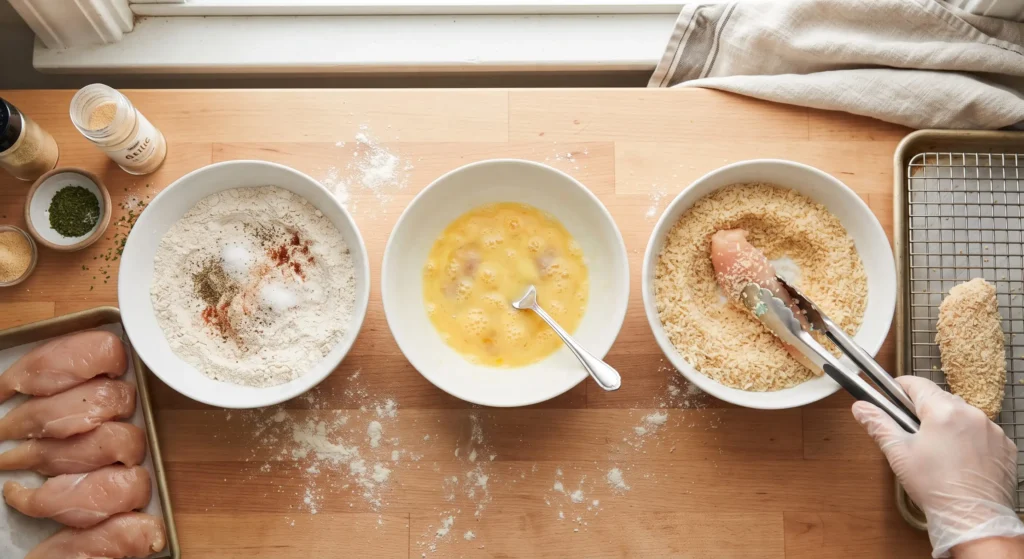
Use three separate bowls:
- Bowl 1: flour mixed with half the paprika, garlic powder, and salt
- Bowl 2: beaten eggs
- Bowl 3: panko breadcrumbs mixed with the remaining paprika, garlic powder, onion powder, salt, and pepper
Dip each tender in flour first, then egg, then press firmly into the panko mixture. I used to skip the flour step thinking it wasn’t necessary, but that’s actually what helps the egg (and therefore the breadcrumbs) stick properly to the chicken.
Step 4: Let the Breaded Tenders Rest for a Few Minutes
This was another accidental discovery. I let a batch sit on the counter for about 10 minutes before air frying because I got distracted by a phone call, and they turned out noticeably crispier than usual. Letting the coating set slightly helps it hold together better during cooking.
Step 5: Spray, Don’t Drown, With Oil
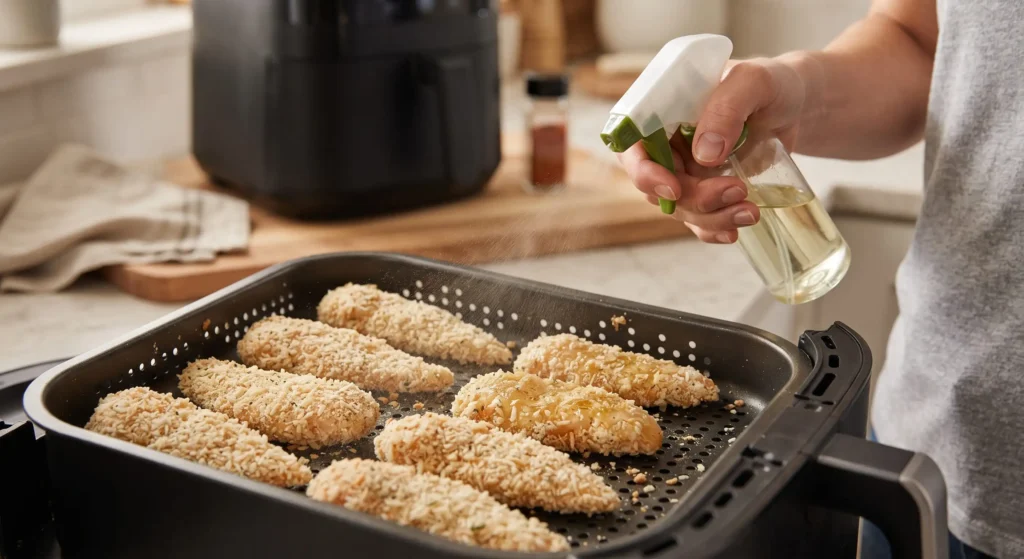
Lightly spray both sides of each tender with cooking oil before placing them in the basket. I learned that skipping this step entirely gives you a pale, dry-looking tender, while using too much oil makes it greasy instead of crispy. A light, even spray is the sweet spot.
Step 6: Arrange Them Without Crowding
Place the tenders in a single layer in the air fryer basket, leaving space between each one. If you’re making a big batch like I usually do for my family, cook in multiple rounds rather than trying to fit everything at once.
Step 7: Cook at the Right Temperature and Flip Halfway
Air fry at 400°F (200°C) for about 10-12 minutes, flipping halfway through. Cooking times vary a bit depending on the air fryer model and how thick your tenders are, so I always check the internal temperature reaches 165°F (74°C) before pulling them out.
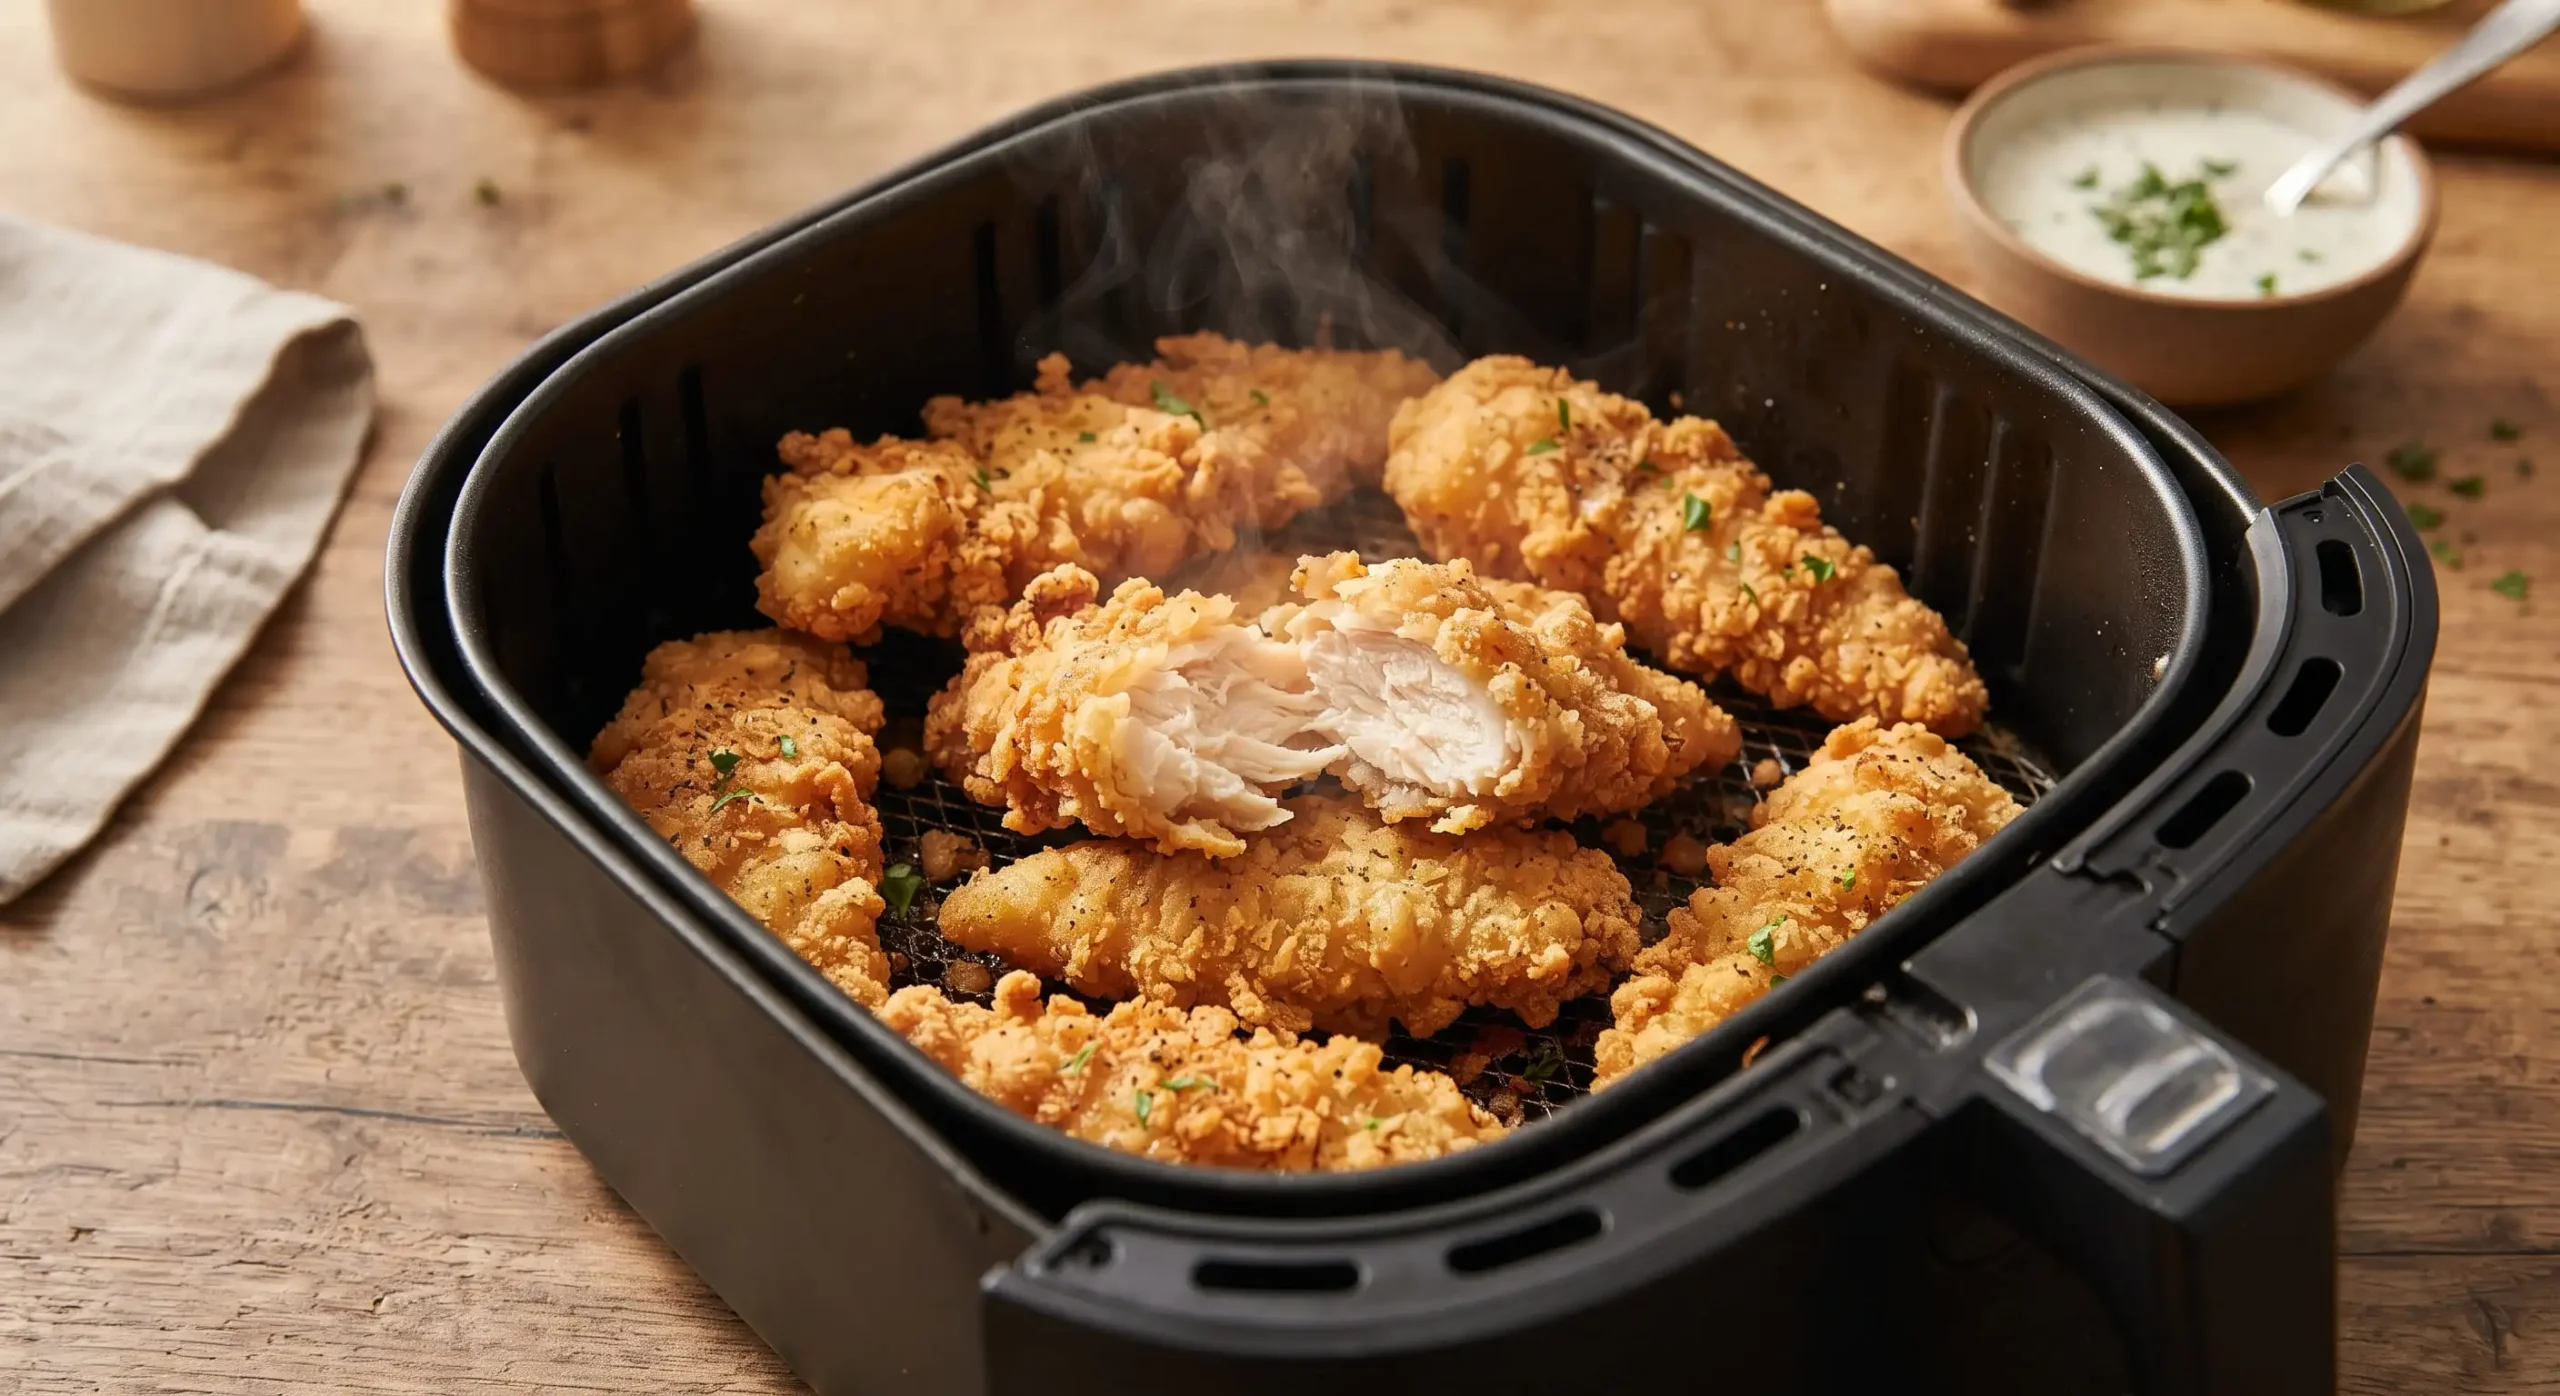
Image Prompt: Overhead shot of golden crispy chicken tenders inside an air fryer basket, mid-cooking, evenly spaced with visible crunchy coating File Name: air-frying-chicken-tenders-basket.jpg Alt Text: Golden chicken tenders cooking evenly spaced in air fryer basket Title: Chicken Tenders Cooking in Air Fryer Description: Crispy chicken tenders mid-cook inside the air fryer basket showing golden coating
Mistakes I Made So You Don’t Have To
Mistake 1: Overcrowding the basket My very first batch had all the tenders piled on top of each other. They came out soggy on the sides that were touching, while the exposed parts cooked fine. Single layer with space is non-negotiable.
Mistake 2: Skipping the oil spray entirely I thought “air fryer means no oil,” which is a common misconception. Without that light spray, the coating just doesn’t get that golden, crispy finish.
Mistake 3: Not patting the chicken dry after marinating Excess moisture made my flour coating clump and slide off during cooking. A quick pat down with a paper towel fixed this completely.
Mistake 4: Opening the basket too many times I used to check on them constantly out of impatience, which let heat escape and messed with the cooking time. Now I only flip once, halfway through, and leave it alone otherwise.
Mistake 5: Using chicken breast without slicing evenly My tenders cooked unevenly the first few times because some pieces were thicker than others. Slicing the chicken into similarly sized strips makes a noticeable difference in consistent doneness.
Some Variations I’ve Tried Along the Way
- Adding crushed cornflakes to the panko mixture for an even crunchier texture, which my kids surprisingly loved more than plain panko
- Using almond flour instead of regular flour for a lower-carb version — it works, though the texture is slightly different
- Adding a touch of cayenne to the breadcrumb mix for a spicier version that pairs really well with a cooling ranch dip
How to Store and Reheat Leftovers Without Losing the Crunch
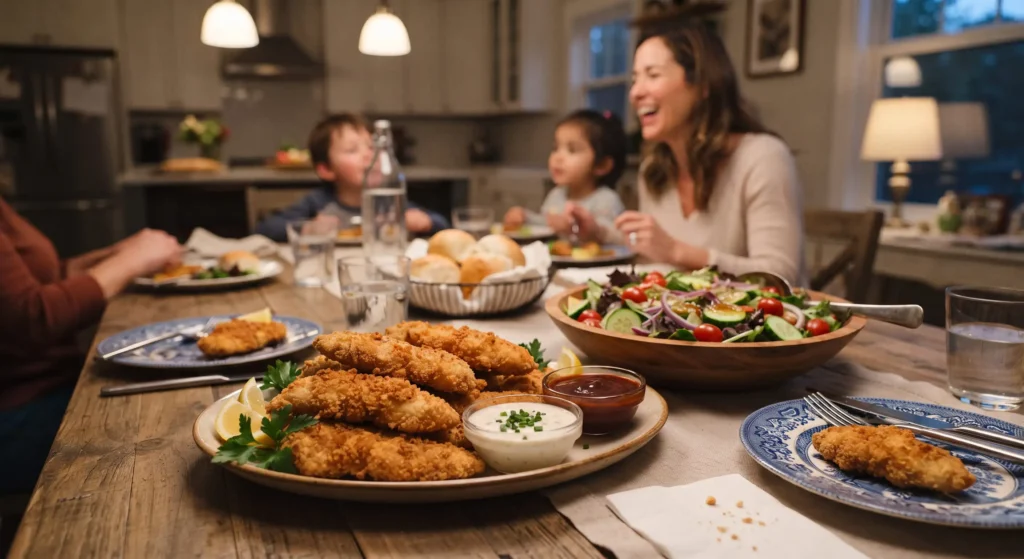
I used to microwave leftover tenders, which turned them rubbery and honestly kind of sad. Now I store them in an airtight container in the fridge for up to 3-4 days, and reheat them in the air fryer at 350°F for about 4-5 minutes. This brings back most of that original crispiness in a way the microwave just can’t do.
A Few Final Thoughts
Looking back at that first disappointing batch, I really almost gave up on the whole idea. But the fixes that made the biggest difference weren’t complicated or expensive — proper spacing, a light oil spray, and patting the chicken dry were basically free changes that transformed the results completely. If your air fryer chicken has been coming out soggy or bland, there’s a good chance it’s one of these small details rather than the appliance itself.
Give it another shot with these adjustments before writing off air frying altogether. I was ready to return mine, and now it’s one of the most used appliances in my kitchen.